Setup and first steps
After you have installed and activated the extension, you will find the new entry Elysium Slides in the menu Contents. Here you can manage all your slides. You can create new slides or delete the ones you no longer need. If you have created one or more slides you can arrange them in the Elysium Slider World of Experience Element and define the behavior and appearance of the slider.
Um dir den Einstieg zu erleichtern findest du hier eine Anleitung. Diese Anleitung setzt an nachdem du die Erweiterung installiert und aktiviert hast.
Create slides
In the menu under Contents -> Elysium Slides you will find the slide overview. Here you can create, edit and delete individual slides.
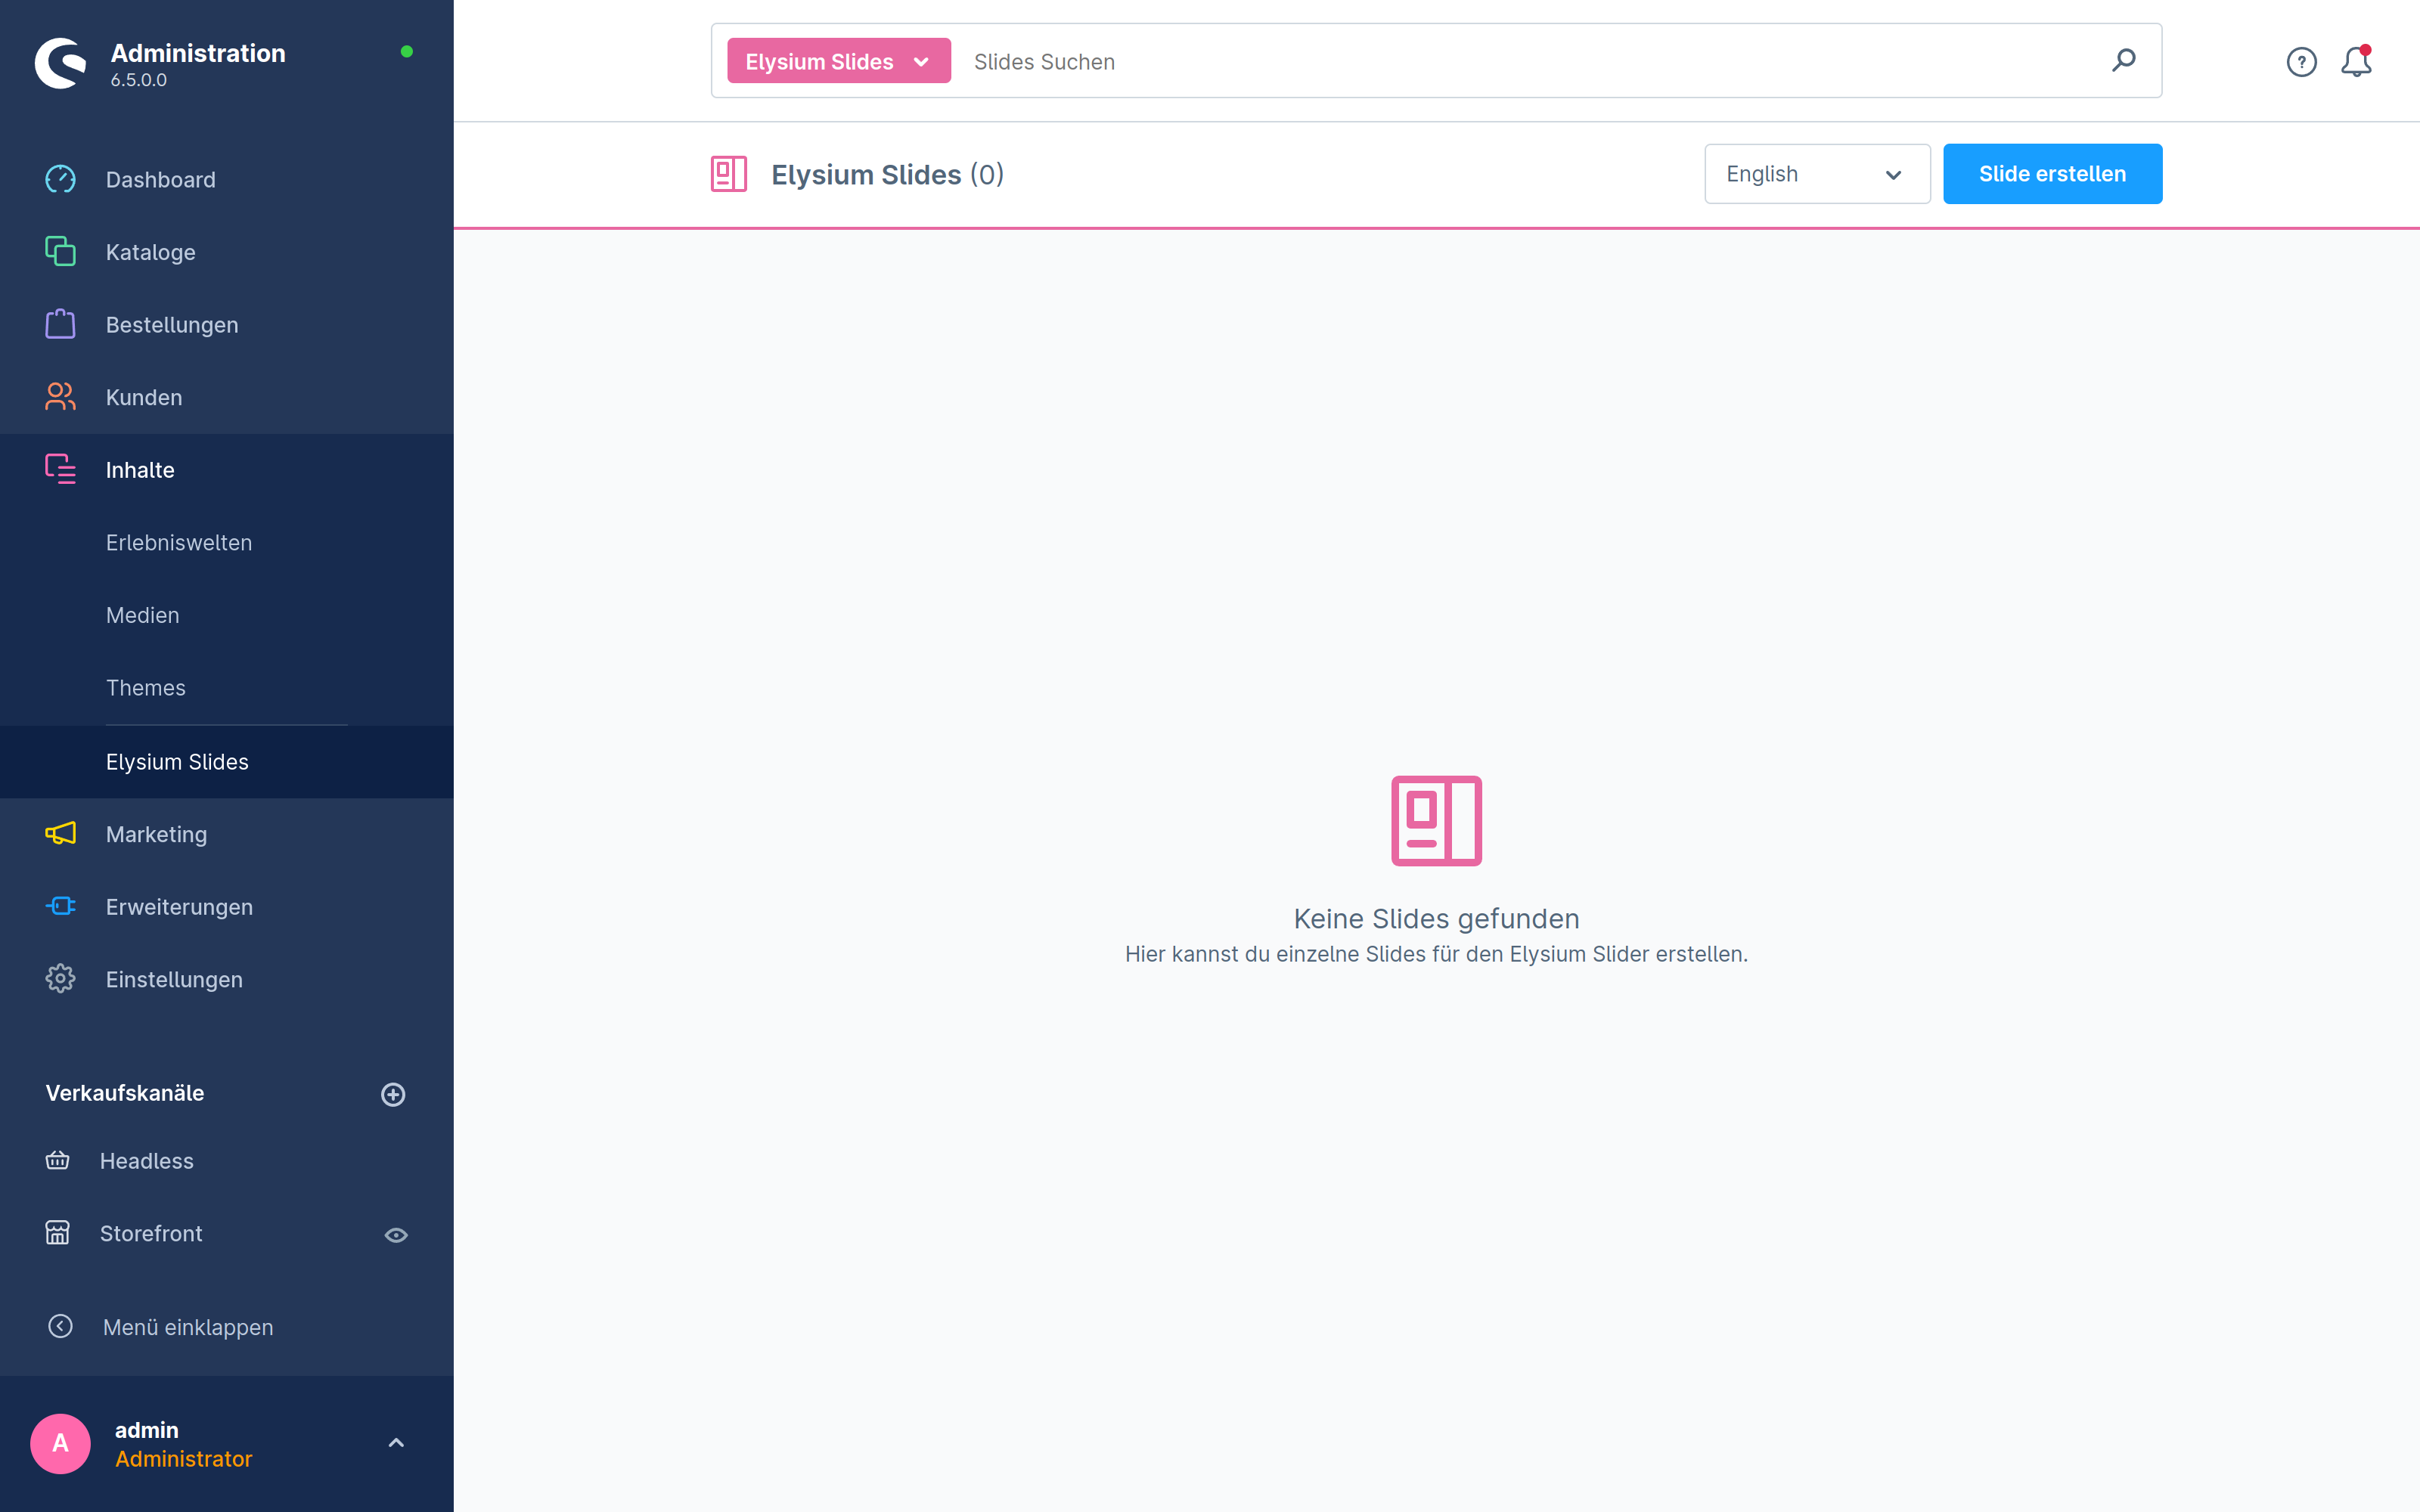
To add a slide click on the Create Slide button in the upper right corner. You will get to the slide view and can fill in the details. Here you can find more details about the settings.
Note
The slide is always created in your default language. If you want to maintain the slide in another language, create and save it in your default language first.
After you have created slides you can link them in the Elysium Slider element of a Shopping experience layout.
Link slides in the Slider element
In an Shopping expierence layout, you can select the Elysium Slider element in the Block group Text and Image and drag it to the desired position.
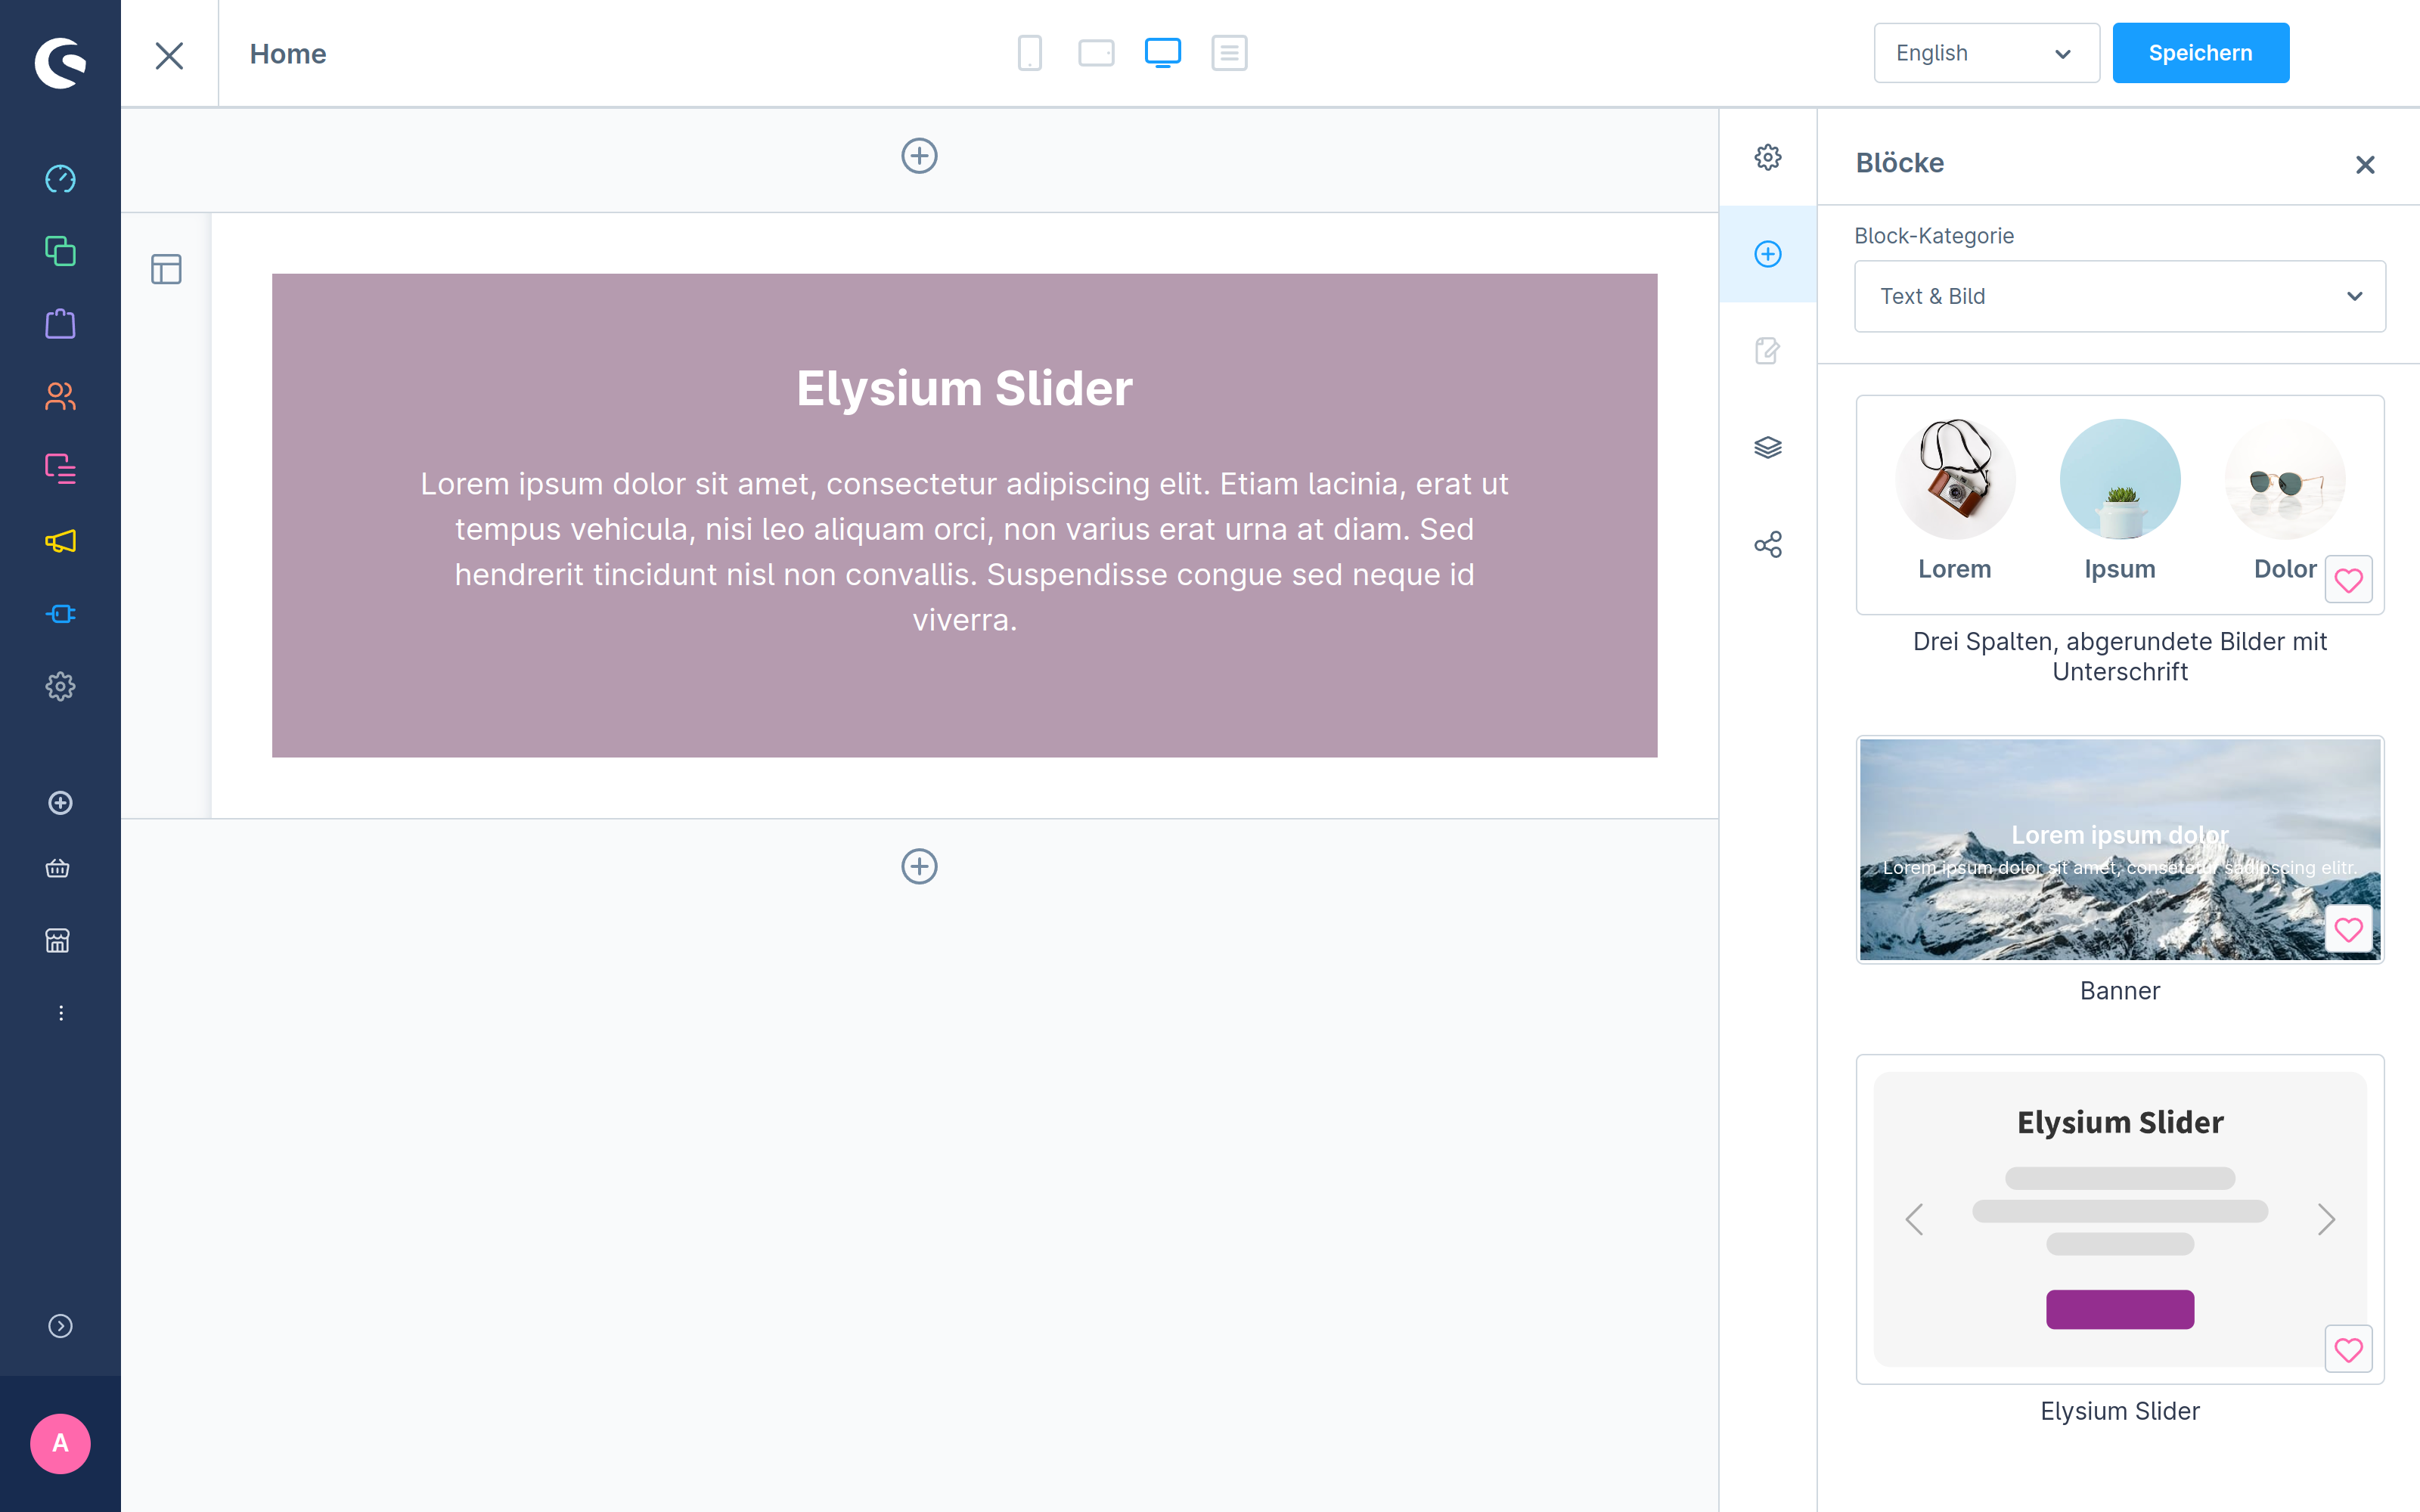
In the element you can link your slides and set other slider related settings.